Trip planning
How many days in Iceland? A 3, 5, 7 and 14-day guide
Three days covers the south. Seven is the sweet spot. Fourteen covers the whole island unhurried.
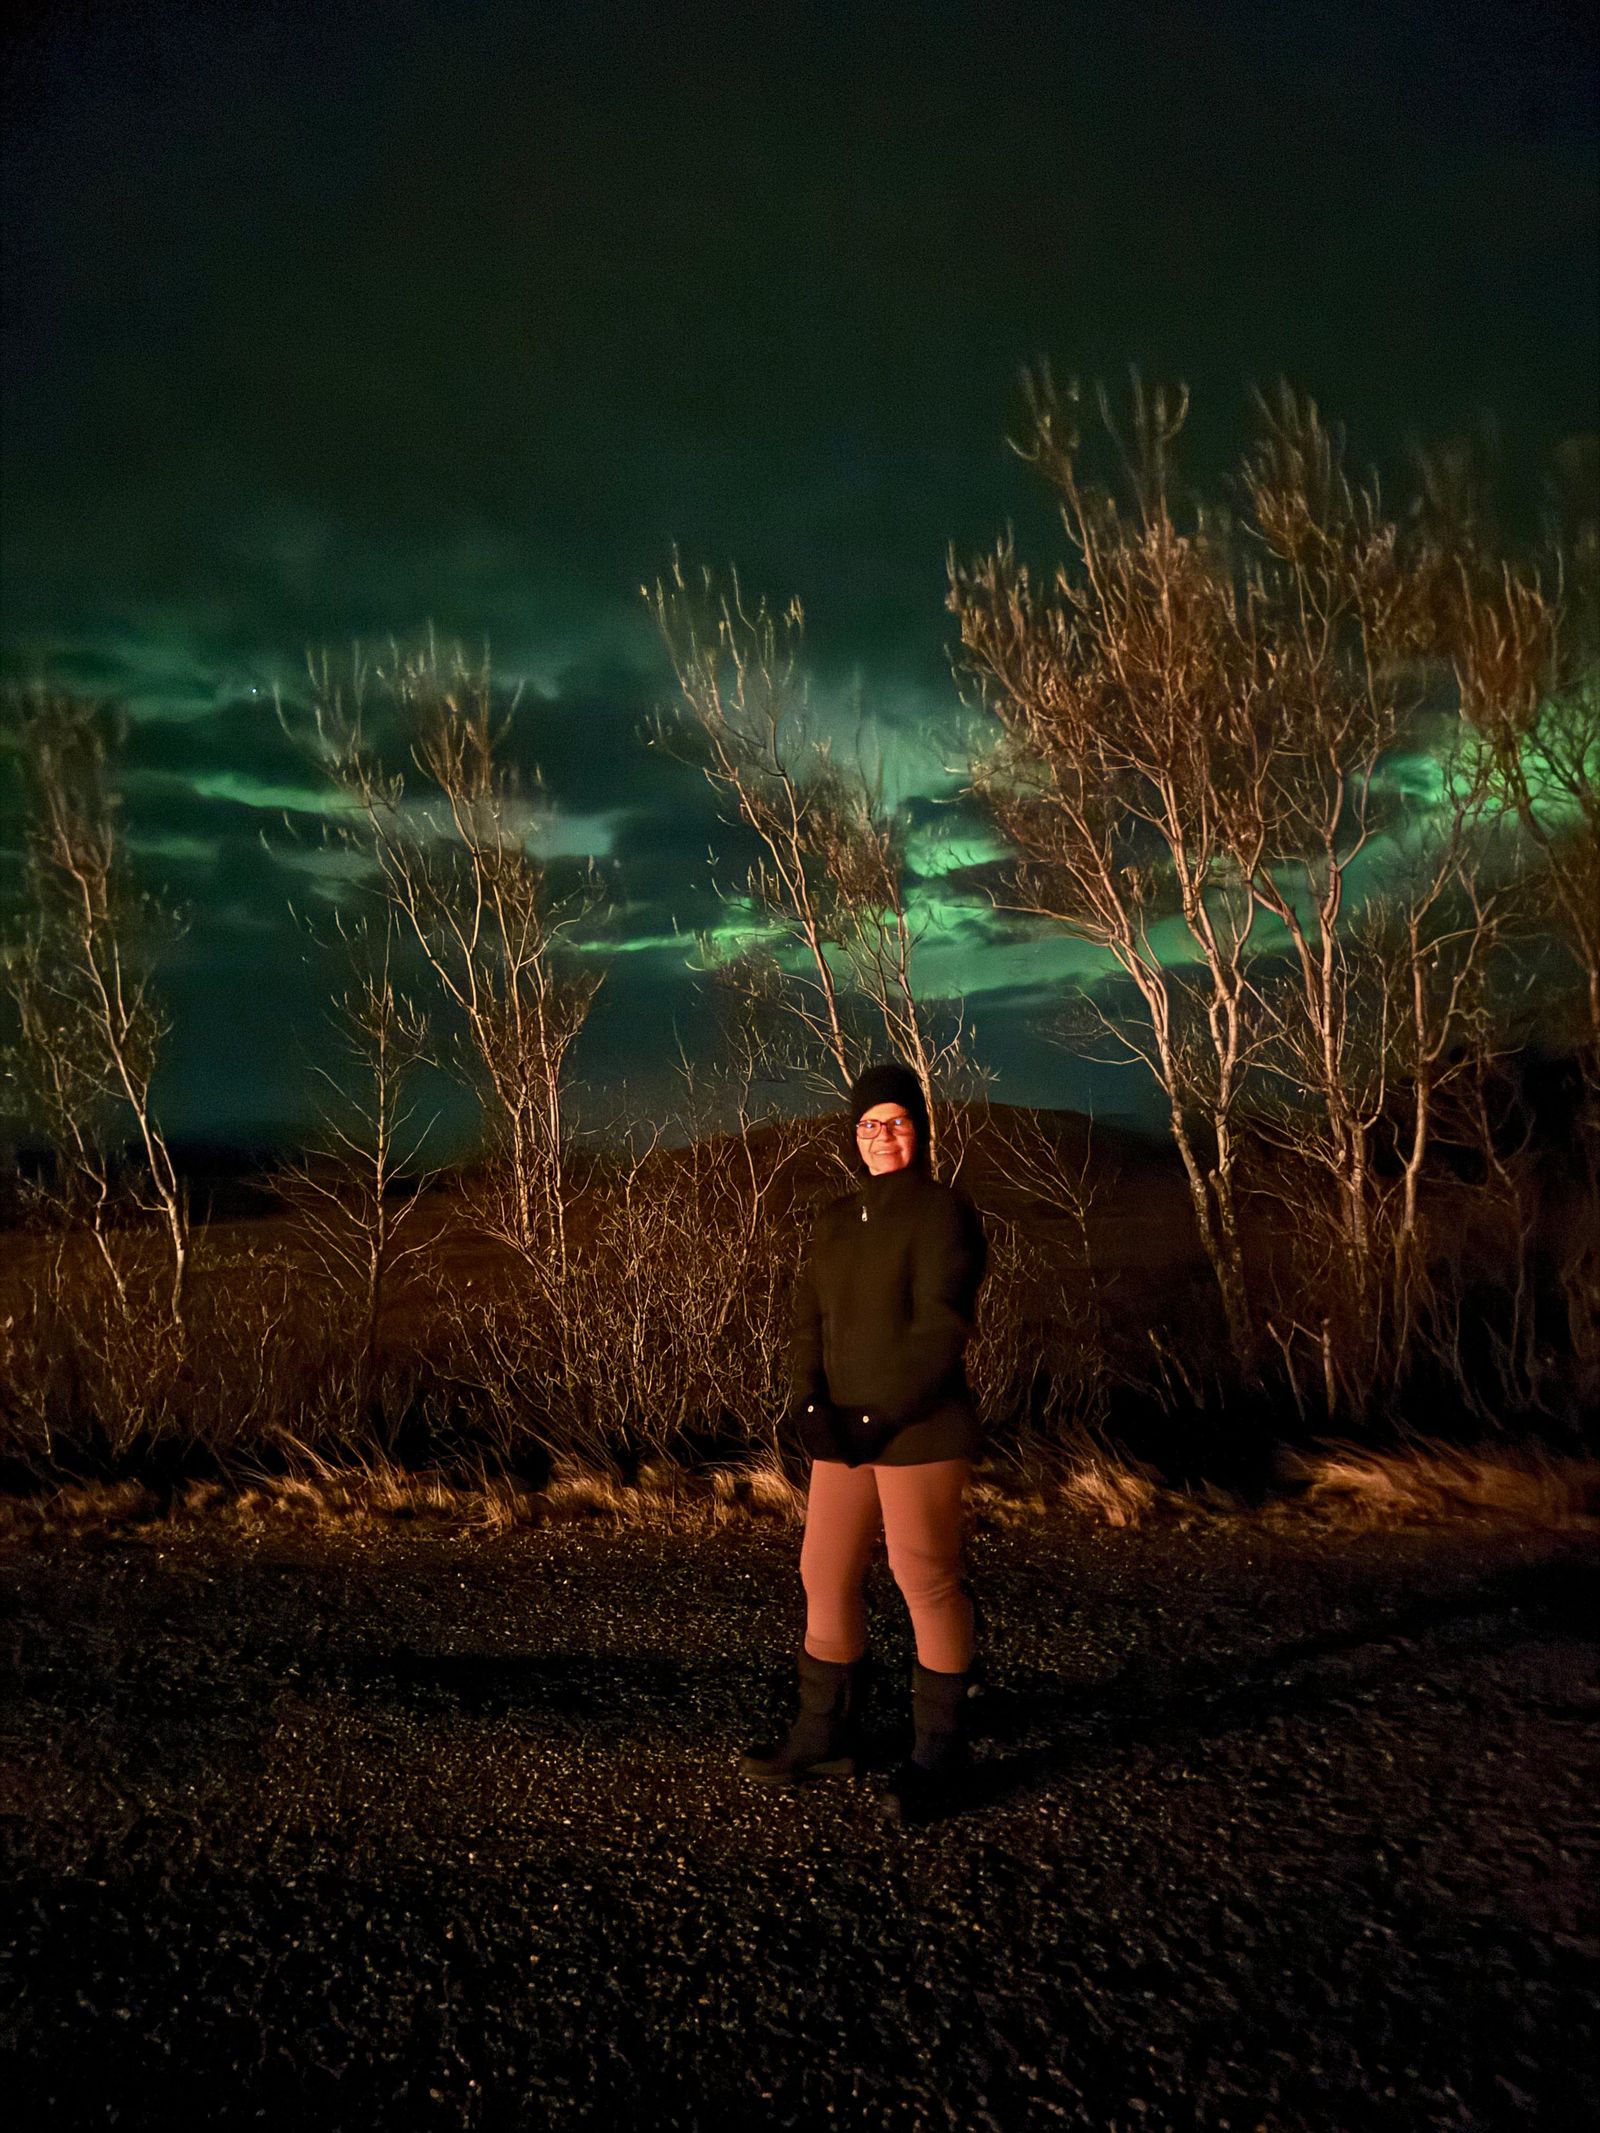
Yes, a phone can capture the northern lights. The iPhone and Android settings that work, why a tripod matters more than the model, and common mistakes.
Yes, you can photograph the northern lights with a phone, and a recent smartphone will often surprise you. The secret is not the model. It is keeping the phone completely still, using Night mode or a manual mode with long exposures, and focusing at infinity. That gets you most of the way. The rest is detail, and here it is, the same way we explain it on the bus.
iPhones with Night mode (iPhone 11 onwards) switch it on automatically in low light. You will see a yellow icon with a number of seconds.
Most mid-range and flagship Android phones have a Pro, Manual or Expert mode. That is where the difference is made.
| Setting | Starting point | If the aurora moves fast |
|---|---|---|
| ISO | 800–1600 | 1600–3200 |
| Shutter speed | 8–15 s | 2–5 s |
| Focus | Manual, at infinity (the mountain icon) | Same |
| White balance | 3500–4000 K | Same |
| Format | RAW if available | Same |
Take a test shot and check the screen. All black? Raise the ISO or the time. Aurora showing up as a shapeless green blur? Shorten the exposure: it is moving faster than you are exposing it.
It is normal for the photo to look much greener, sometimes with purples and reds, than what you saw. Human eyes are poor at colour in low light, while the sensor gathers light for several seconds. On faint nights the phone can reveal an arc that looked like a pale cloud to the naked eye. It is not a trick. It is the same aurora, seen for longer.
The hard part of an aurora photo is not the phone. It is being somewhere dark, under a clear patch of sky, at the moment the aurora switches on. On our northern lights hunt from Reykjavík the guide picks the route from the cloud cover and solar activity, helps you set up your phone or camera on the spot and, when conditions allow, takes souvenir photos of the group. It runs 4 to 5 hours, costs €99, and you reserve without paying anything up front: payment is taken 48 hours before. If we do not see the aurora on the first outing, the second one the next night is free.
First time chasing the lights? Start with our guide to the northern lights in Iceland, and for clothing read what to pack for Iceland in winter. Booking terms are in the FAQ.
Any recent phone with Night mode or a Pro/Manual mode will do. Keeping it still, focused at infinity and away from city light matters far more than the exact model.
Strongly recommended. Exposures last several seconds and hand-held shots come out blurred. A small phone tripod is cheap and fits in a pocket; otherwise rest the phone on something solid.
In Pro or Manual mode: ISO 800–1600, a shutter of 8 to 15 seconds, manual focus at infinity and white balance around 3500–4000 K. If the aurora moves fast, drop to 2–5 seconds and raise the ISO.
The sensor gathers light for several seconds, while human eyes are poor at seeing colour in the dark. It is the same aurora, just exposed for longer.
Small groups, bilingual guides, free cancellation.
Three days covers the south. Seven is the sweet spot. Fourteen covers the whole island unhurried.
What an aurora hunt night is really like: the pickup, a route that changes every night, the waiting, the…
Christmas in Iceland lasts 26 days, with 13 mischievous Yule Lads, a cat that eats people and a night of books.
Tell us the dates and how many you are. Plan and price back today.